Decor
Hanging Art Without Drilling: Fixings and Systems
The type of wall decides the fixing. What to use on concrete, plasterboard and brick, how to hang without drilling, and how to secure heavier panels.
Updated:
Hanging a piece is the job most often postponed after buying it. Usually the reason is uncertainty: which screw, which plug, do I have to drill, and what if I am renting.
This article removes that uncertainty. We covered height and sizing separately; this one is entirely about the mechanics.
First, work out what your wall is#
Everything starts here. Knock on the wall with a knuckle:
- A solid, dull sound with almost no echo: concrete or solid brick
- A hollow, drum-like sound: plasterboard
- Something in between: perforated brick or aerated concrete
If you are unsure, drill a small hole somewhere inconspicuous. The colour of the dust tells you too: grey dust means concrete, soft white dust plasterboard, reddish dust brick.
The distinction matters, because a concrete plug in plasterboard does not work; within months the piece comes off the wall.
What to use on each wall type#
On concrete you need a hammer drill and a plastic plug. It is the most common and safest solution. The plug diameter must match the screw; in an oversized hole the plug spins and grips nothing.
On plasterboard there are two routes. For light pieces a proper plasterboard fixing (a toggle or self-drilling type) is enough. For heavy pieces the right answer is to find the metal stud behind the board and drive the screw into it. Without a stud detector you can trace the stud line by finding the screw heads with a magnet.
On perforated brick you need a long plug, because a short one landing in a void will not hold.
Aerated concrete has its own dedicated plugs; ordinary plugs work loose in this material over time.
The hanging system: what is on the back#
What is on the piece itself matters as much as the wall.
Wire is the most common and the least stable. The piece slides sideways and straightening it becomes a recurring chore. On light work it is not a problem.
A pair of D-rings is better. Hung from two points, the piece does not shift and stays level. The two rings must be at exactly the same height or the piece hangs crooked.
A concealed cleat (French cleat) is the strongest. Two interlocking parts, one screwed to the wall and one to the piece. It is the system used for heavy and large work; the piece sits flush against the wall and does not move at all.
Wall panels from Peck Art Studio come with a concealed hanging system on the back, it is added at the edge finishing stage.
The special case of tufted panels#
Hanging a textured panel differs slightly from hanging a framed picture.
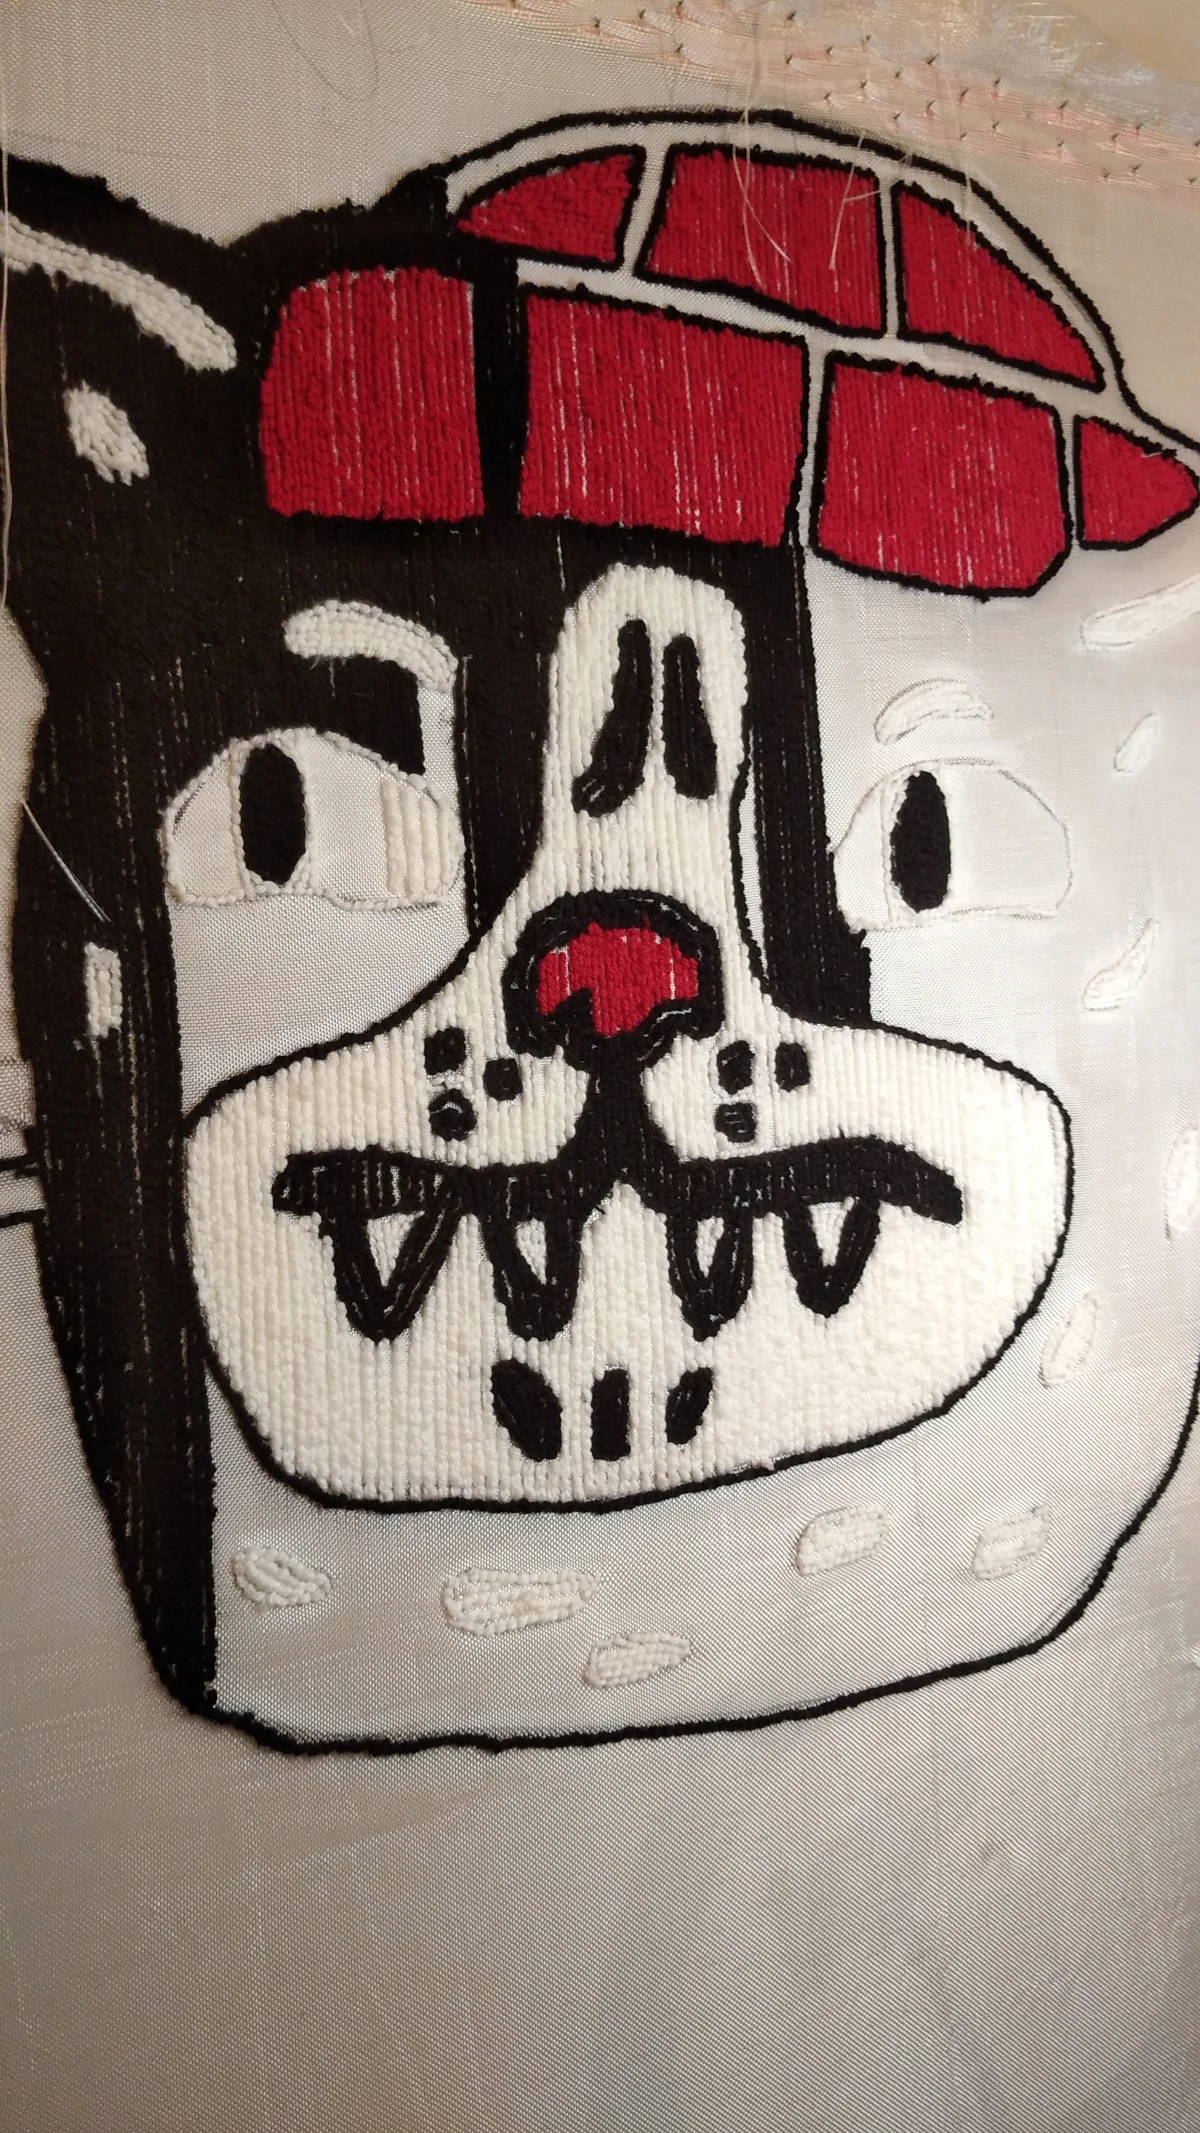
Tufted panels can be heavier than their size suggests; yarn, backing and adhesive accumulate. So do not hang one from a single nail; concentrating the weight at one point strains both the wall and the piece.
Second, the panel should sit flush against the wall. A gap lets air circulate behind it, collects dust, and on damp walls affects the backing.
Third, textured surfaces are directional in light. Before hanging, hold the panel against the wall both ways round and look; colour lightens and darkens with the yarn direction, and one orientation is usually noticeably better.
Hanging without drilling#
In a rented home or on a surface that must not be drilled there are several options. All share one rule: respect the weight limit.
Adhesive hanging strips work on light pieces, with conditions: the paint must be sound, the surface clean and free of grease, and you must wait the stated time after applying. Never use them on flaking or damp walls, when they fail, they take the paint with them.
Leaning on a shelf is the most elegant no-drill solution. A narrow shelf or a mantelpiece lets a piece lean back slightly on display. Several works can overlap on the same shelf, and the composition can change whenever you like.
Leaning on the floor works for large pieces. Standing a work over 100 cm against the wall at floor level looks contemporary and needs no holes at all.
A hanging rail system suspends work on wires from a rail mounted near the ceiling. It needs drilling once, after which you can hang as many pieces as you like, at any height, with no further holes. If you plan to hang a lot, it is the most sensible route.
Step by step#
For a single piece, the order is:
- Measure how far below the top edge the hanging point on the back sits
- Mark your desired centre height on the wall (145-150 cm from the floor)
- Add half the height of the piece to that mark, then subtract the distance you measured first. That is where the screw goes
- Check level with a spirit level. If hanging from two points, level between the two marks as well
- Drill, insert the plug, drive the screw, hang
A paper template makes all this much easier: cut paper to the size of the piece, tape it to the wall, move it until you are happy, then mark the screw position through the paper.
Where not to hang#
Sometimes the wall itself is the problem:
- Walls in direct sun. The number one cause of fading
- The damp inner face of an external wall
- Above radiators and fireplaces, where warm air hits the surface directly
- Bathrooms and kitchens, where humidity is high, especially for textured work
We gathered care for painted work in oil painting care and for textured surfaces in tufted rug care.
Hanging several pieces#
One rule is enough for a group: keep the gaps equal and choose one alignment axis, either top edges or centre lines.
A gap of 5 to 10 cm between pieces usually looks right. Wider than that and the group reads as disconnected.
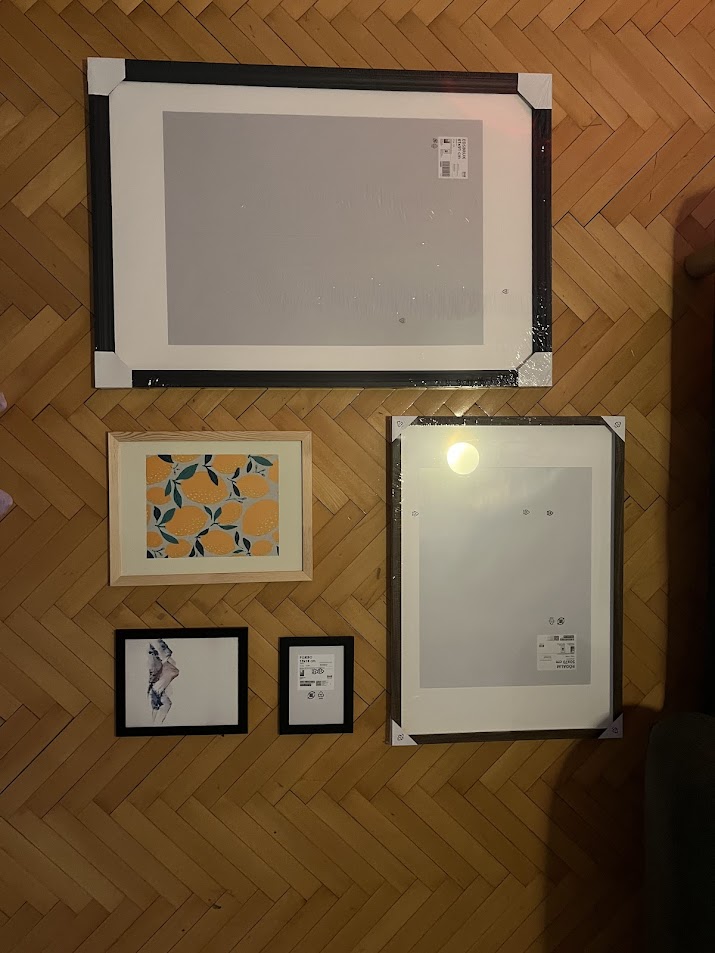
Build the composition on the floor, not on the wall. Laying it out before any nail goes in prevents the extra holes you would otherwise drill later. We gathered different layout approaches in the empty wall article.
If you do not have the piece yet#
Work you can look at while deciding on size and placement is in the gallery, with dimensions and technique on each page. If your wall needs a specific size, send a photo of the space through the custom order page and we will plan it together.
Frequently Asked Questions
How do you hang a picture on plasterboard?
For light pieces a dedicated plasterboard fixing (toggle or self-drilling type) is enough. For heavy pieces, find the metal stud behind the board and screw into that. A concrete plug will not hold in plasterboard and the piece comes down within months.
Can you hang a picture without drilling?
Yes, several ways: adhesive strips for light pieces, leaning on a narrow shelf or mantelpiece, standing large pieces against the wall at floor level, or a hanging rail system installed once. In all cases the weight limit must be respected.
How do I identify my wall type?
Knock with a knuckle: a dull sound with no echo means concrete or solid brick, a drum-like hollow sound means plasterboard, something in between means perforated brick or aerated concrete. The dust colour also tells you — grey for concrete, soft white for plasterboard, reddish for brick.
What should I watch when hanging a tufted panel?
Do not hang from a single nail; tufted panels can be heavier than their size suggests. The panel should sit flush against the wall, since a gap collects dust. Also hold it against the wall both ways round first — colour shifts with the yarn direction.
What gap should there be between several pictures?
Between 5 and 10 cm usually looks right; wider than that and the group reads as disconnected. Keep the gaps equal and choose one alignment axis, either top edges or centre lines. Build the composition on the floor, not on the wall.