Inspiration
What Is Oil Paint? Materials, Techniques and How a Painting Is Made
Why oil paint dries slowly, what materials it needs, and how alla prima differs from glazing. A studio walkthrough from the first coat of gesso to the final varnish.
Updated:
What oil paint is#
Oil paint is pigment bound in a drying vegetable oil. The most common binder is linseed oil; poppy oil is used in whites to reduce yellowing, and some brands use walnut oil.
The real difference is in how it dries. Watercolour and acrylic dry as their water evaporates. Oil paint dries by oxidation instead: the oil reacts with oxygen in the air, the molecules link up, and the layer hardens over months. That is why the canvas stays wet for days, why tones truly blend into one another, and why a paint layer keeps most of its body even after it has dried.
That durability is why the same basic formula has been in use since the Flemish masters of the 15th century. What comes out of a tube today is chemically related to what sits on a Van Eyck panel.
Three things that set oil paint apart#
- Time: a thin layer needs two to seven days to become touch dry. A painter can leave a picture open for days and come back a week later to the same wet surface.
- Depth: the dried oil film is transparent. Light passes through the upper layer, bounces off the one beneath and returns. You get an inner glow that a single coat cannot produce.
- Longevity: built in the right layer order and varnished properly, an oil painting lasts centuries. Four hundred year old works still readable in museums are the proof.
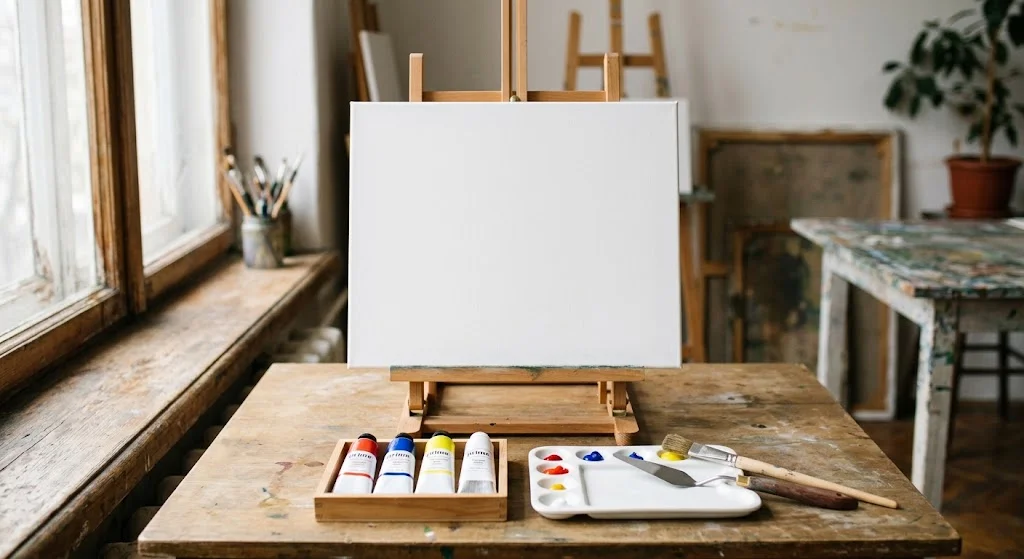
What goes into an oil painting#
- Paint: the series number on the tube reflects pigment cost, while the artist or student label tells you the pigment load. Student ranges carry more filler and visibly fade as they dry.
- Support: cotton or linen canvas, MDF or wooden panel. Linen moves less and is the safer choice above one metre.
- Brushes: hog bristle to carry thick paint, sable or good synthetic for soft transitions and detail.
- Palette knife: for mixing on the palette and laying paint in relief on the canvas.
- Solvent and medium: turpentine or odourless thinner to dilute; linseed oil and stand oil to add flow and gloss.
- Gesso: the ground that isolates the canvas from the acidity of the paint.
- Varnish: the protective layer that comes last.
You do not need a long colour list to start. Two yellows, two reds, two blues, one earth tone, a black and plenty of titanium white will mix almost anything. A limited palette is also the fastest way to learn colour mixing.
Why surface preparation is never skipped#
Oil paint is acidic. Applied to bare canvas, the fibres grow brittle over time and the oil seeps through, showing up years later as stains on the back. Gesso breaks that contact.
Even on pre-primed canvas, one or two thin coats of gesso with a light sanding between them noticeably improve the surface. A thin transparent colour laid over the ground, called imprimatura, kills the glare of white canvas and makes it far easier to judge tonal values. Earth tones or a cool grey are the usual choices.
The fat over lean rule#
This is the one non negotiable technical rule in oil painting: every layer must be fatter than the one below it. The first layers carry more solvent and stay matte; the upper layers carry more oil and stay flexible.
The reason is simple. An oily layer dries late and moves slightly as it does. If the slow layer sits underneath and the fast one on top, the upper film is pulled tight and cracks. Most of the fine web of cracks that appears on new paintings within a year or two comes from getting this order backwards.
Core oil painting techniques#
- Alla prima: finishing in one session while the paint is still wet, working wet into wet. It gives fast, lively results in landscape and portrait studies and keeps the brushwork visible.
- Layered painting: an underpainting that establishes tonal values in a single colour, then colour layers on top. The classical studio method and the one that gives you the most control.
- Glazing: a transparent colour thinned with medium and laid over a dry layer. The colour is built by overlay rather than by mixing on the palette. Most of the vitality in skin tones comes from here.
- Impasto: paint left in relief with a brush or palette knife. It physically catches light and gives the surface a texture you can feel.
- Sfumato: melting edges away like smoke, done on wet paint with a clean, soft brush.
- Scumbling and dry brush: a half covering touch with very little paint that lets the layer beneath show through. Ideal for clouds, skin and stone.
Four or five of these can live in a single painting. The distant mountain built with scumbling, the water in front of it glazed, the sunlit foam laid on in impasto.
Drying and varnishing timeline#
- Touch dry: two to seven days for a thin layer, weeks for heavy impasto.
- Firm enough to handle: roughly three to six months. Do not wrap or frame behind glass before this point.
- Fully cured: six months to a year depending on layer thickness.
Permanent varnish goes on after that final stage. Varnishing early stops the paint underneath from moving as it continues to dry, and the surface cracks. Painters who cannot wait use a temporary retouching varnish; the permanent one still waits its turn.
Pigments also dry at different speeds. Umbers and earth tones dry fast, zinc white and some reds dry slowly. It is normal for one corner of a painting to dry before another.
Five mistakes beginners make most often#
- Using too much solvent. Paint stripped of its binder stays matte and dusty and lifts off the surface over the years.
- Reversing the layer order. Fat below and lean above guarantees cracking.
- Working on a small palette. Mixing needs space; on a cramped palette every tone turns to mud.
- Building darks with black. Mixing shadows from complementary colours keeps a painting alive.
- Varnishing too early. The hardest mistake to undo.
Painted works at Peck Art Studio#
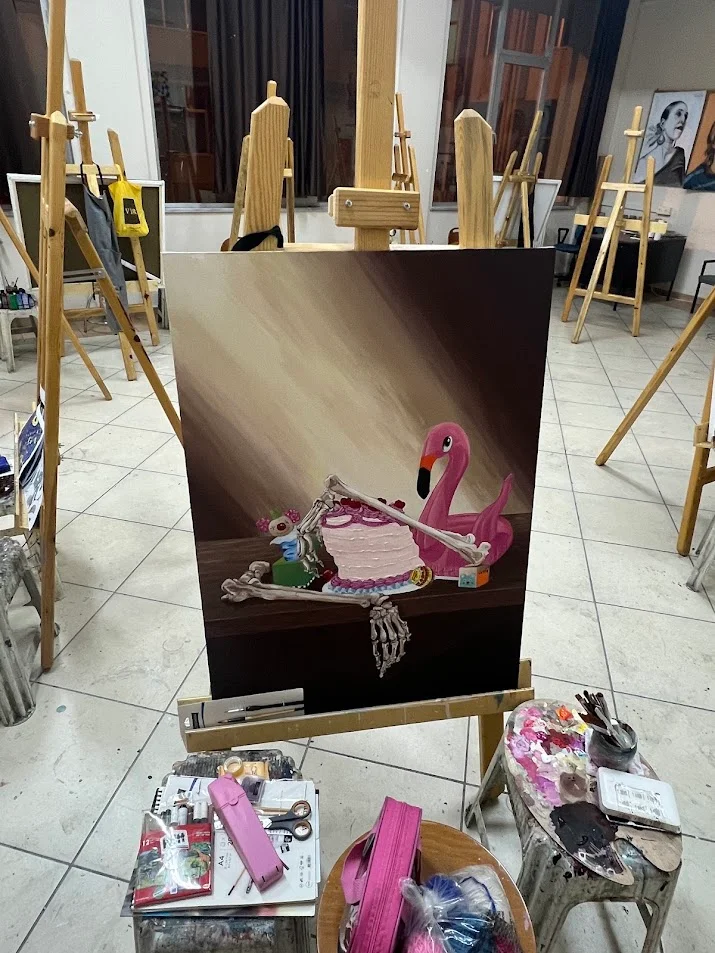
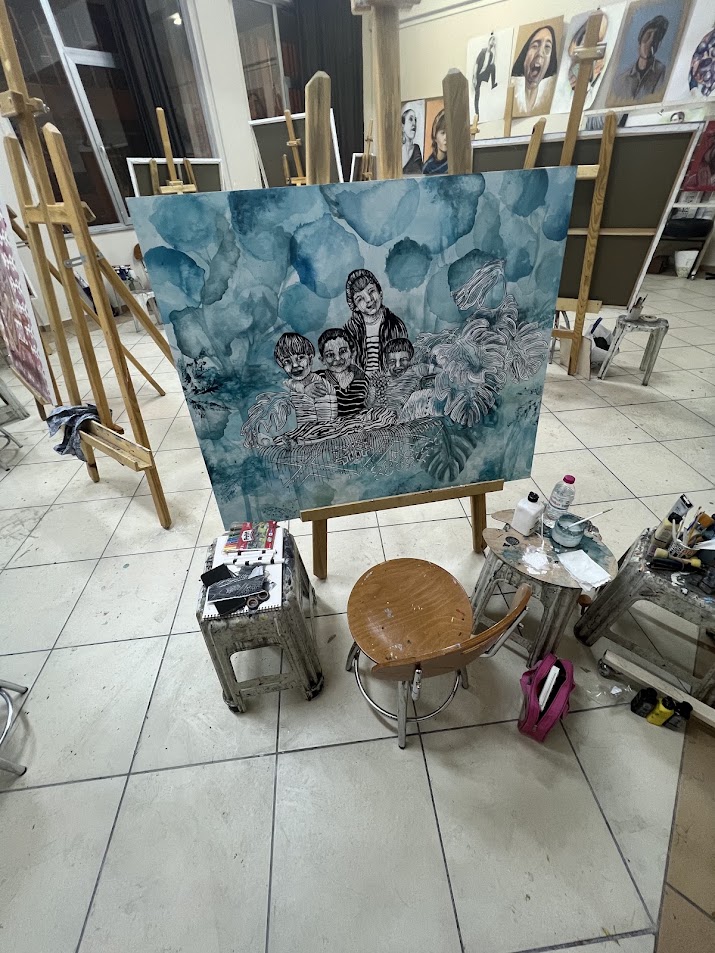
Alongside tufting and handmade wall pieces, the studio also produces individual painted works. The technique, size and materials of every piece are stated openly on its page; alongside original paintings, the collection also includes print and reproduction works.
If you already have a size, a colour palette or a specific wall in mind, the custom order page lets you pick dimensions and technique, see the price range immediately, attach reference images and send your request. You follow the process from the studio, start to finish.
Frequently Asked Questions
How long does oil paint take to dry?
A thin layer of oil paint becomes touch dry in two to seven days. Heavy impasto can take weeks. A painting is firm enough to handle after three to six months, and fully cured in six months to a year depending on how thickly it was painted.
When should an oil painting be varnished?
Permanent varnish goes on after the paint has fully cured, usually six to twelve months later. Varnishing early prevents the still drying paint underneath from moving and cracks the surface. If earlier protection is needed, use a temporary retouching varnish instead.
Does canvas have to be primed for oil paint?
Yes. Oil paint is acidic, so on bare canvas it makes the fibres brittle over time and the oil seeps through and stains the back. A gesso ground blocks that contact. Even on pre-primed canvas, one extra thin coat of gesso improves the surface.
What materials are enough to start oil painting?
You don't need to make a huge shopping list at the beginning. A few oil paint colors, several different brushes, a canvas, a palette, and a few additional materials are enough to start exploring oil painting. Here are the basic supplies you may need: Oil paints Painting brushes Canvas Palette Linseed oil Turpentine Spatula Cloth or paper towels You don't have to buy everything in large quantities at once. It makes much more sense to start with the basics and discover which materials you actually need as you gain experience.
Are oil paint fumes harmful?
The smell comes from the solvent, not the paint. Turpentine and traditional thinners can cause headaches in a closed room. Odourless solvent, a lidded container and good ventilation solve most of it. The paint itself poses no inhalation risk in normal use.